Appliance Prosthetic – Stage 3

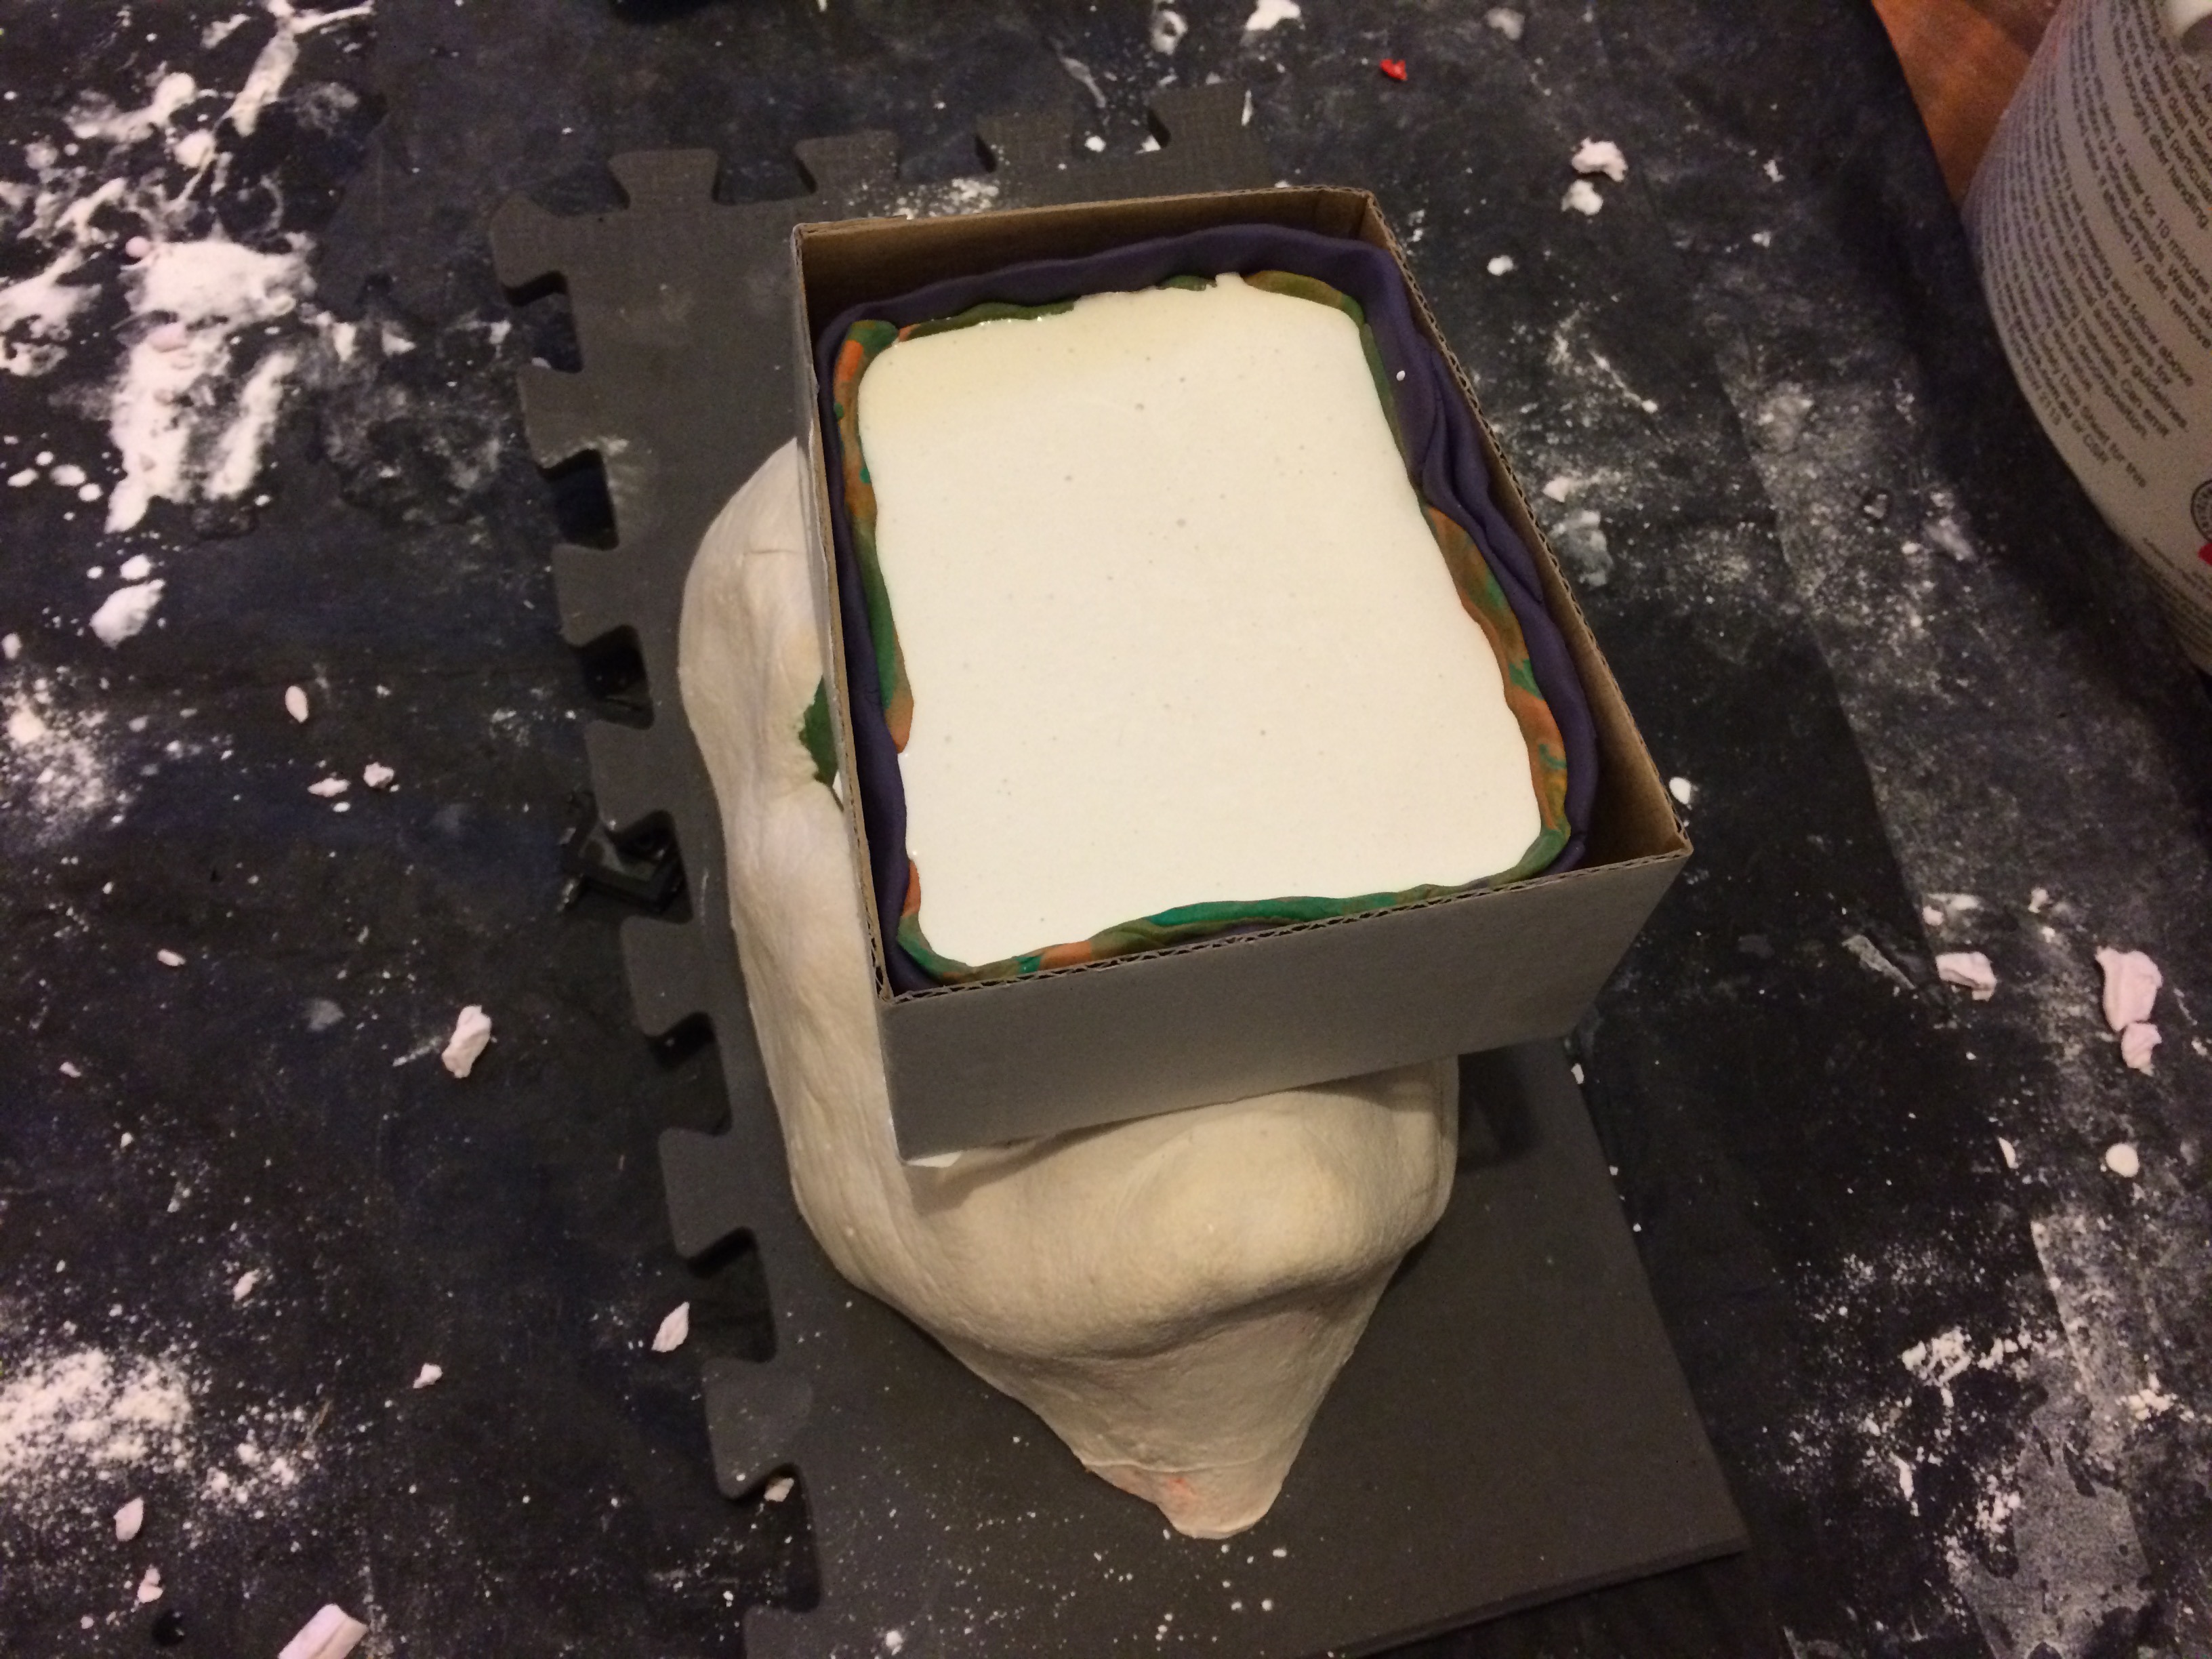
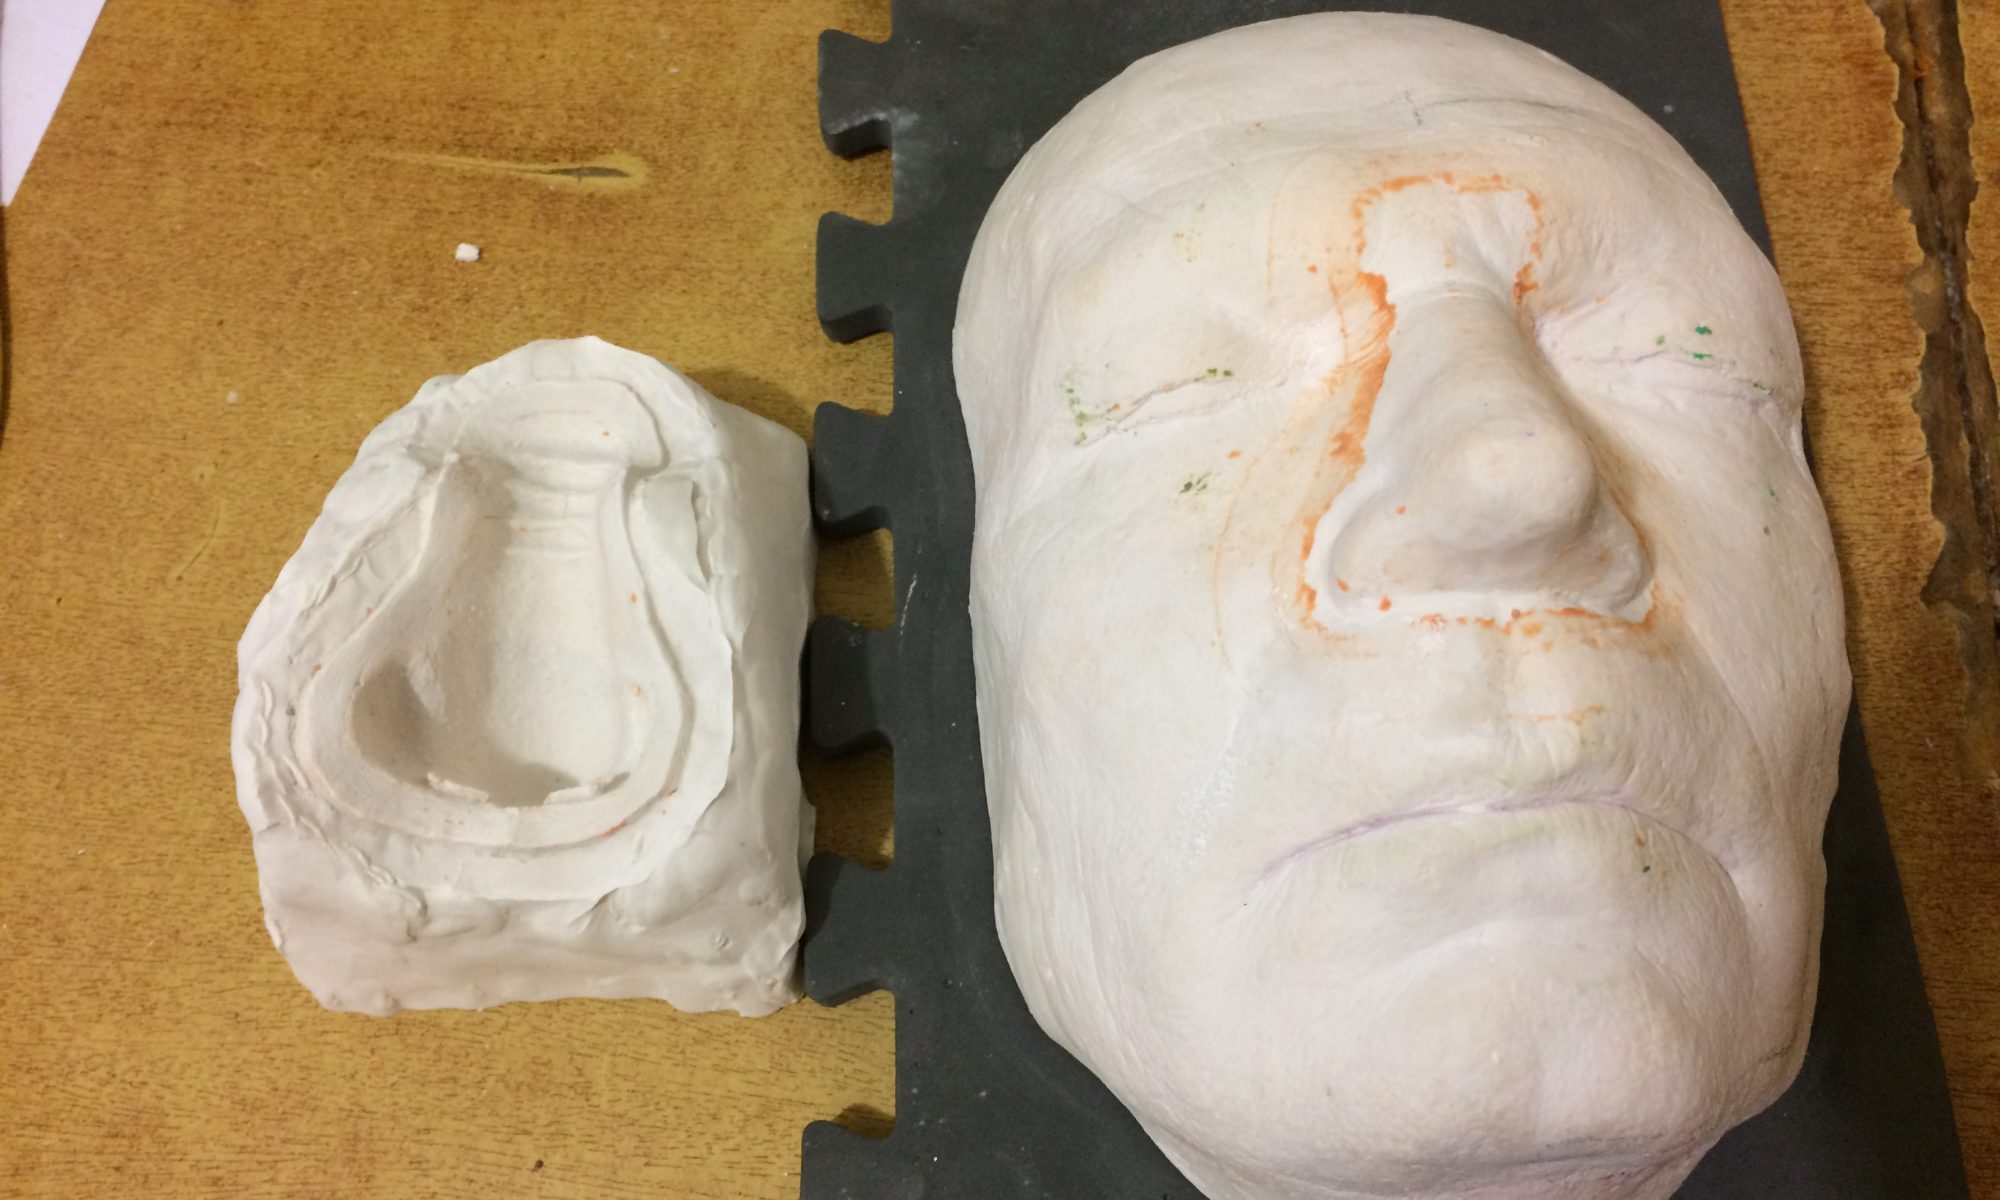
Well, 12 Hours have past since the negative was pored and it was time to see how it went.

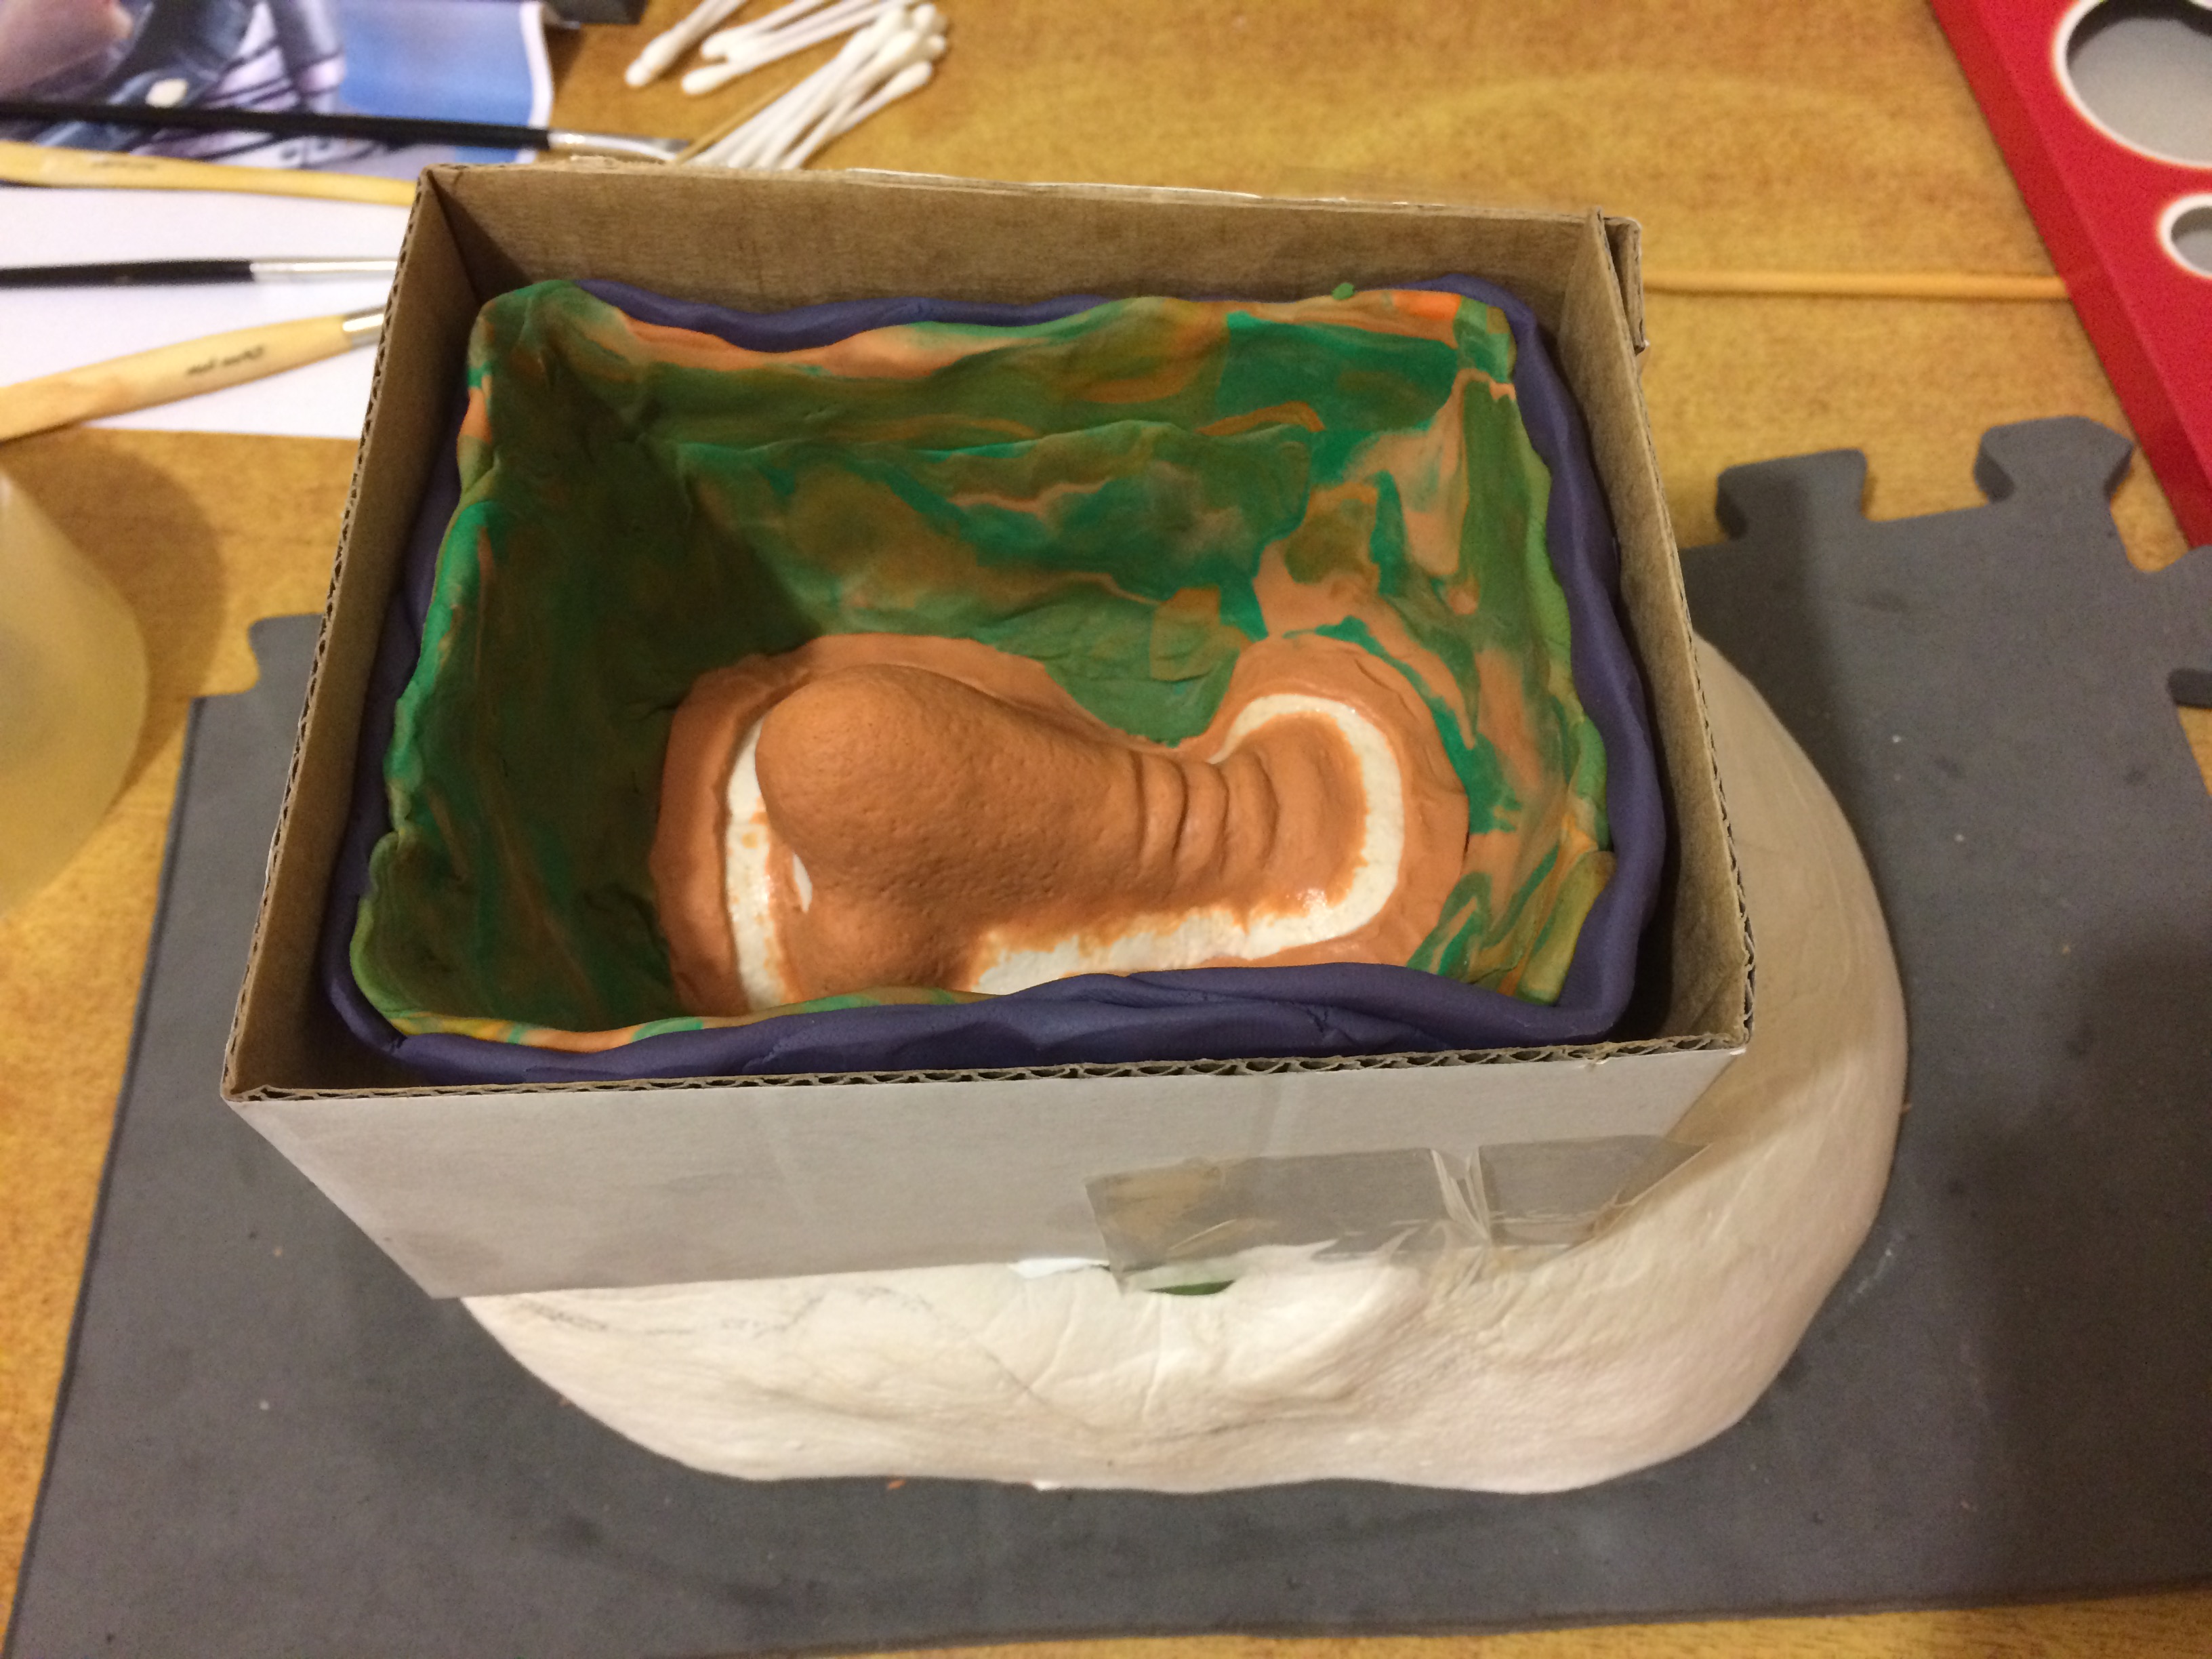
The 2 Pieces came apart very easily so the vaseline worked very well as a barrier for the hydrocal – although as we will see it did leave light brush marks in the resulting cast.

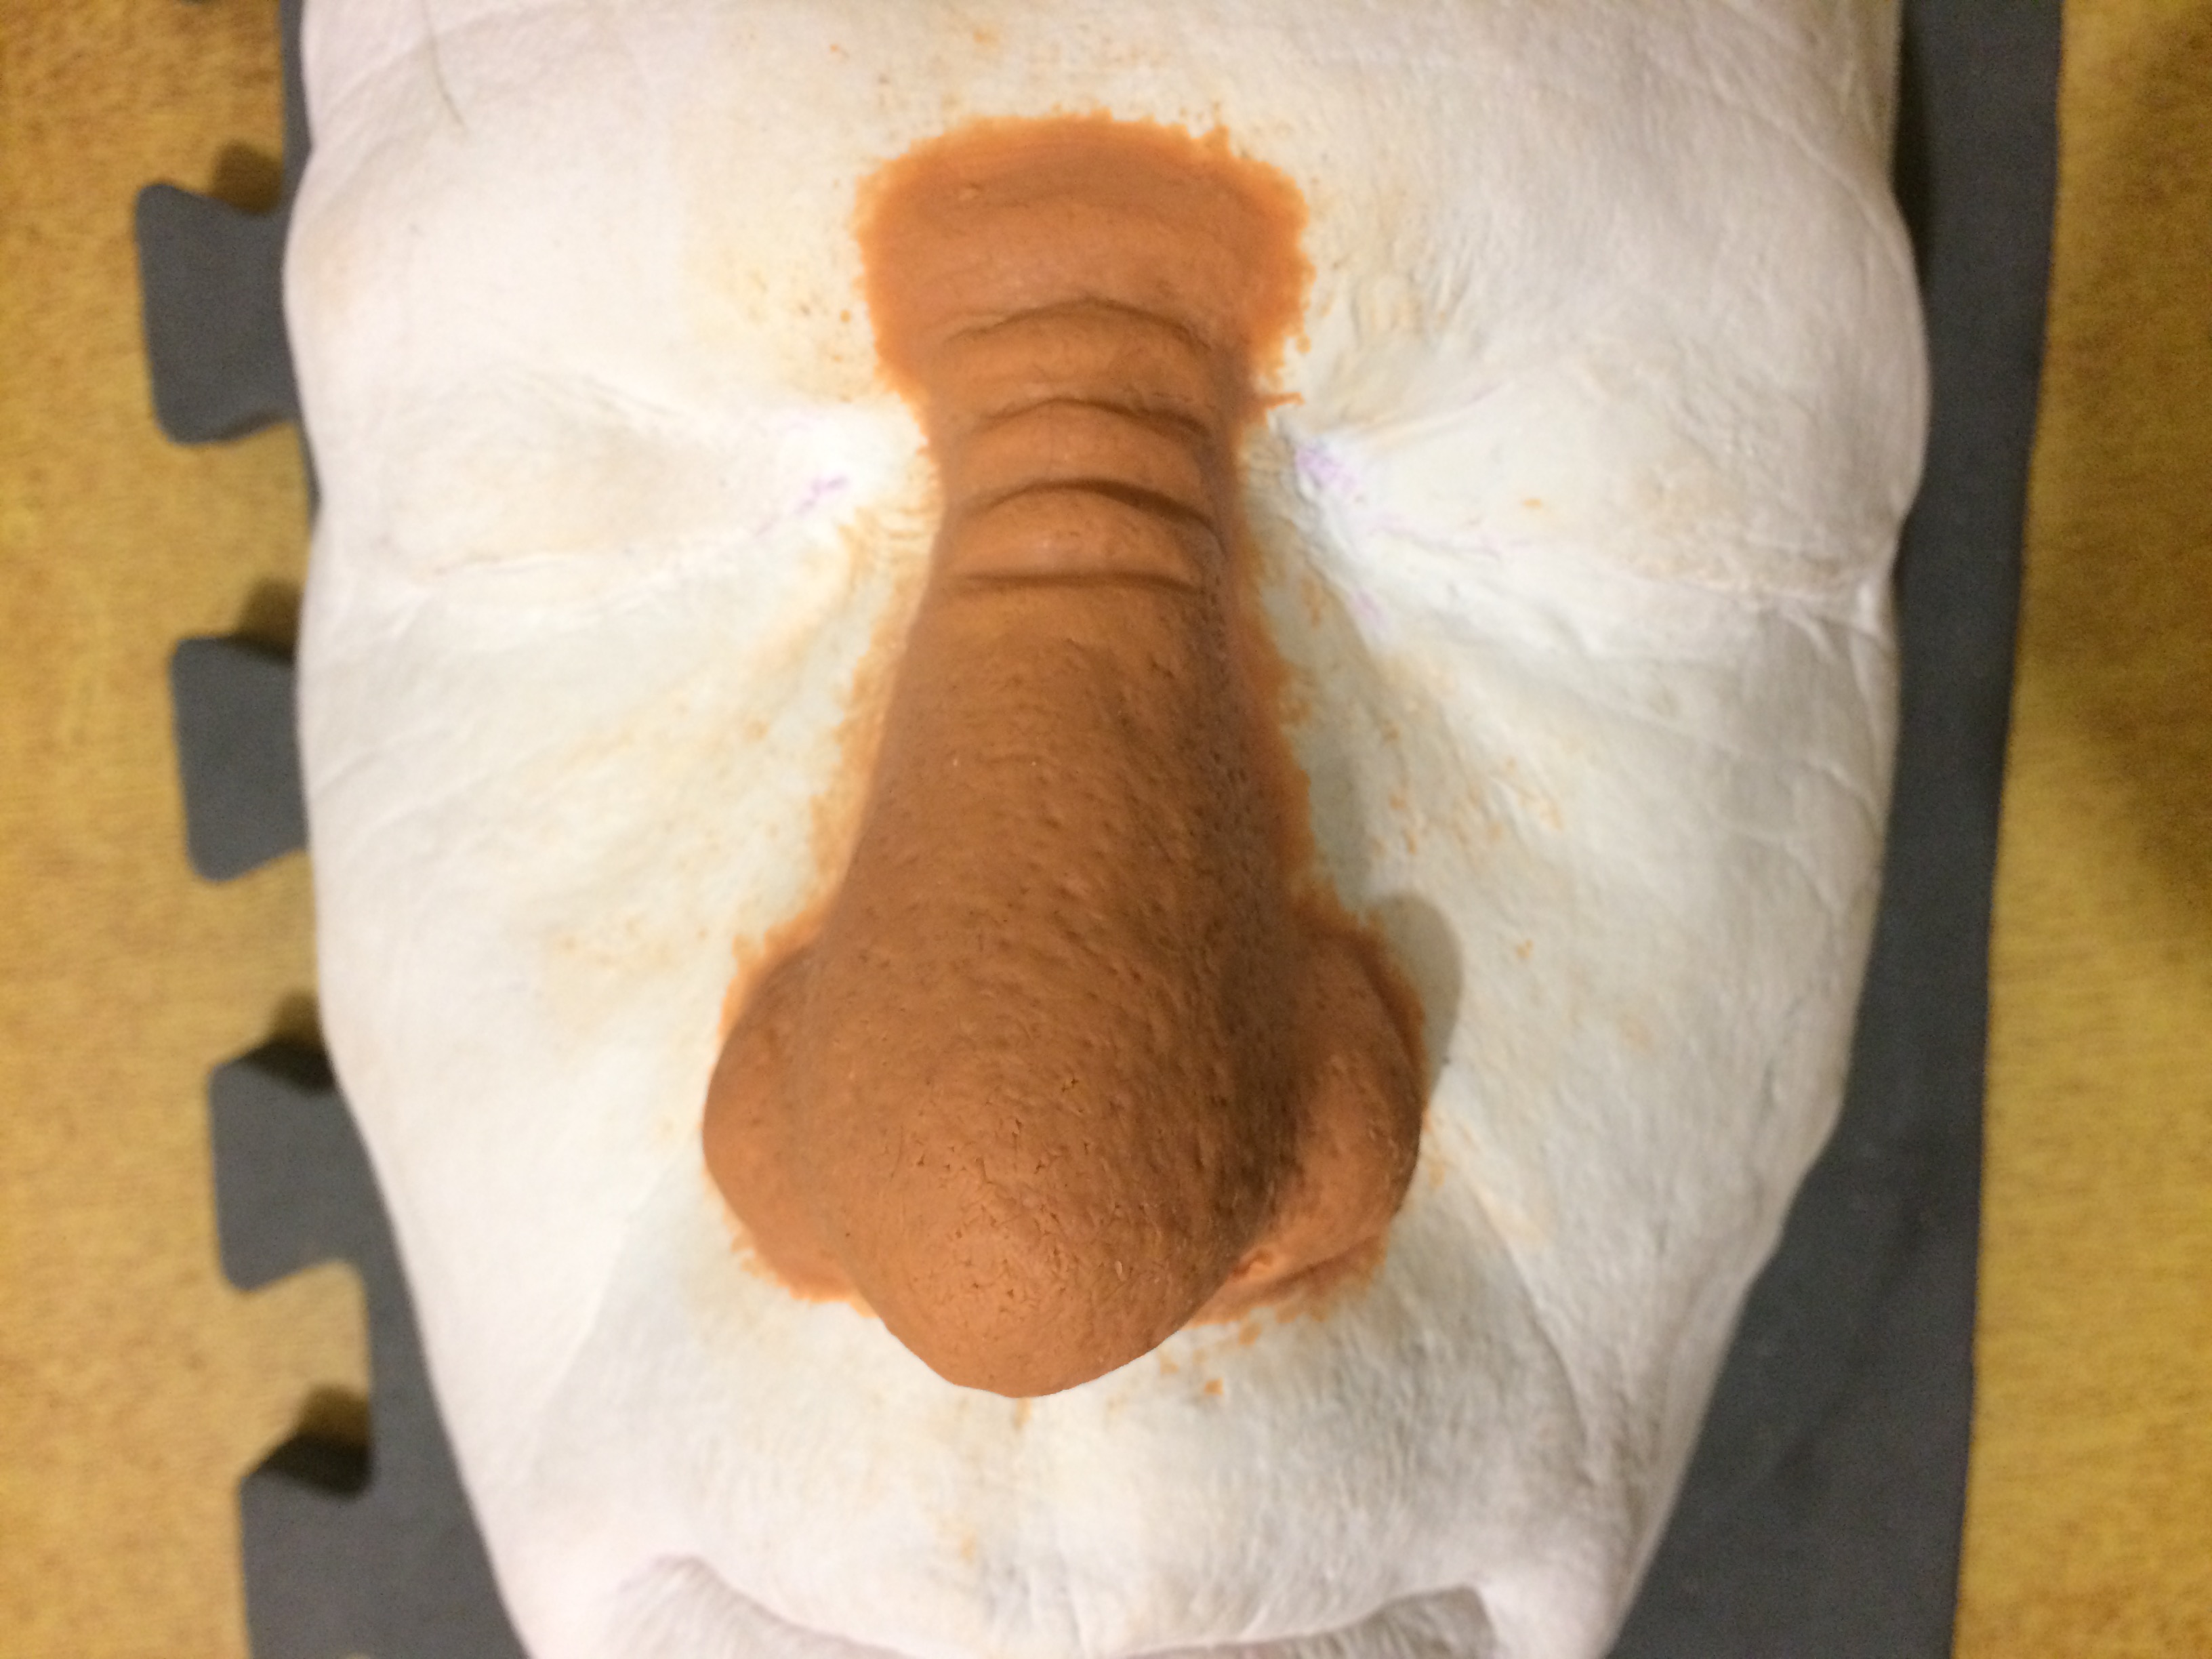
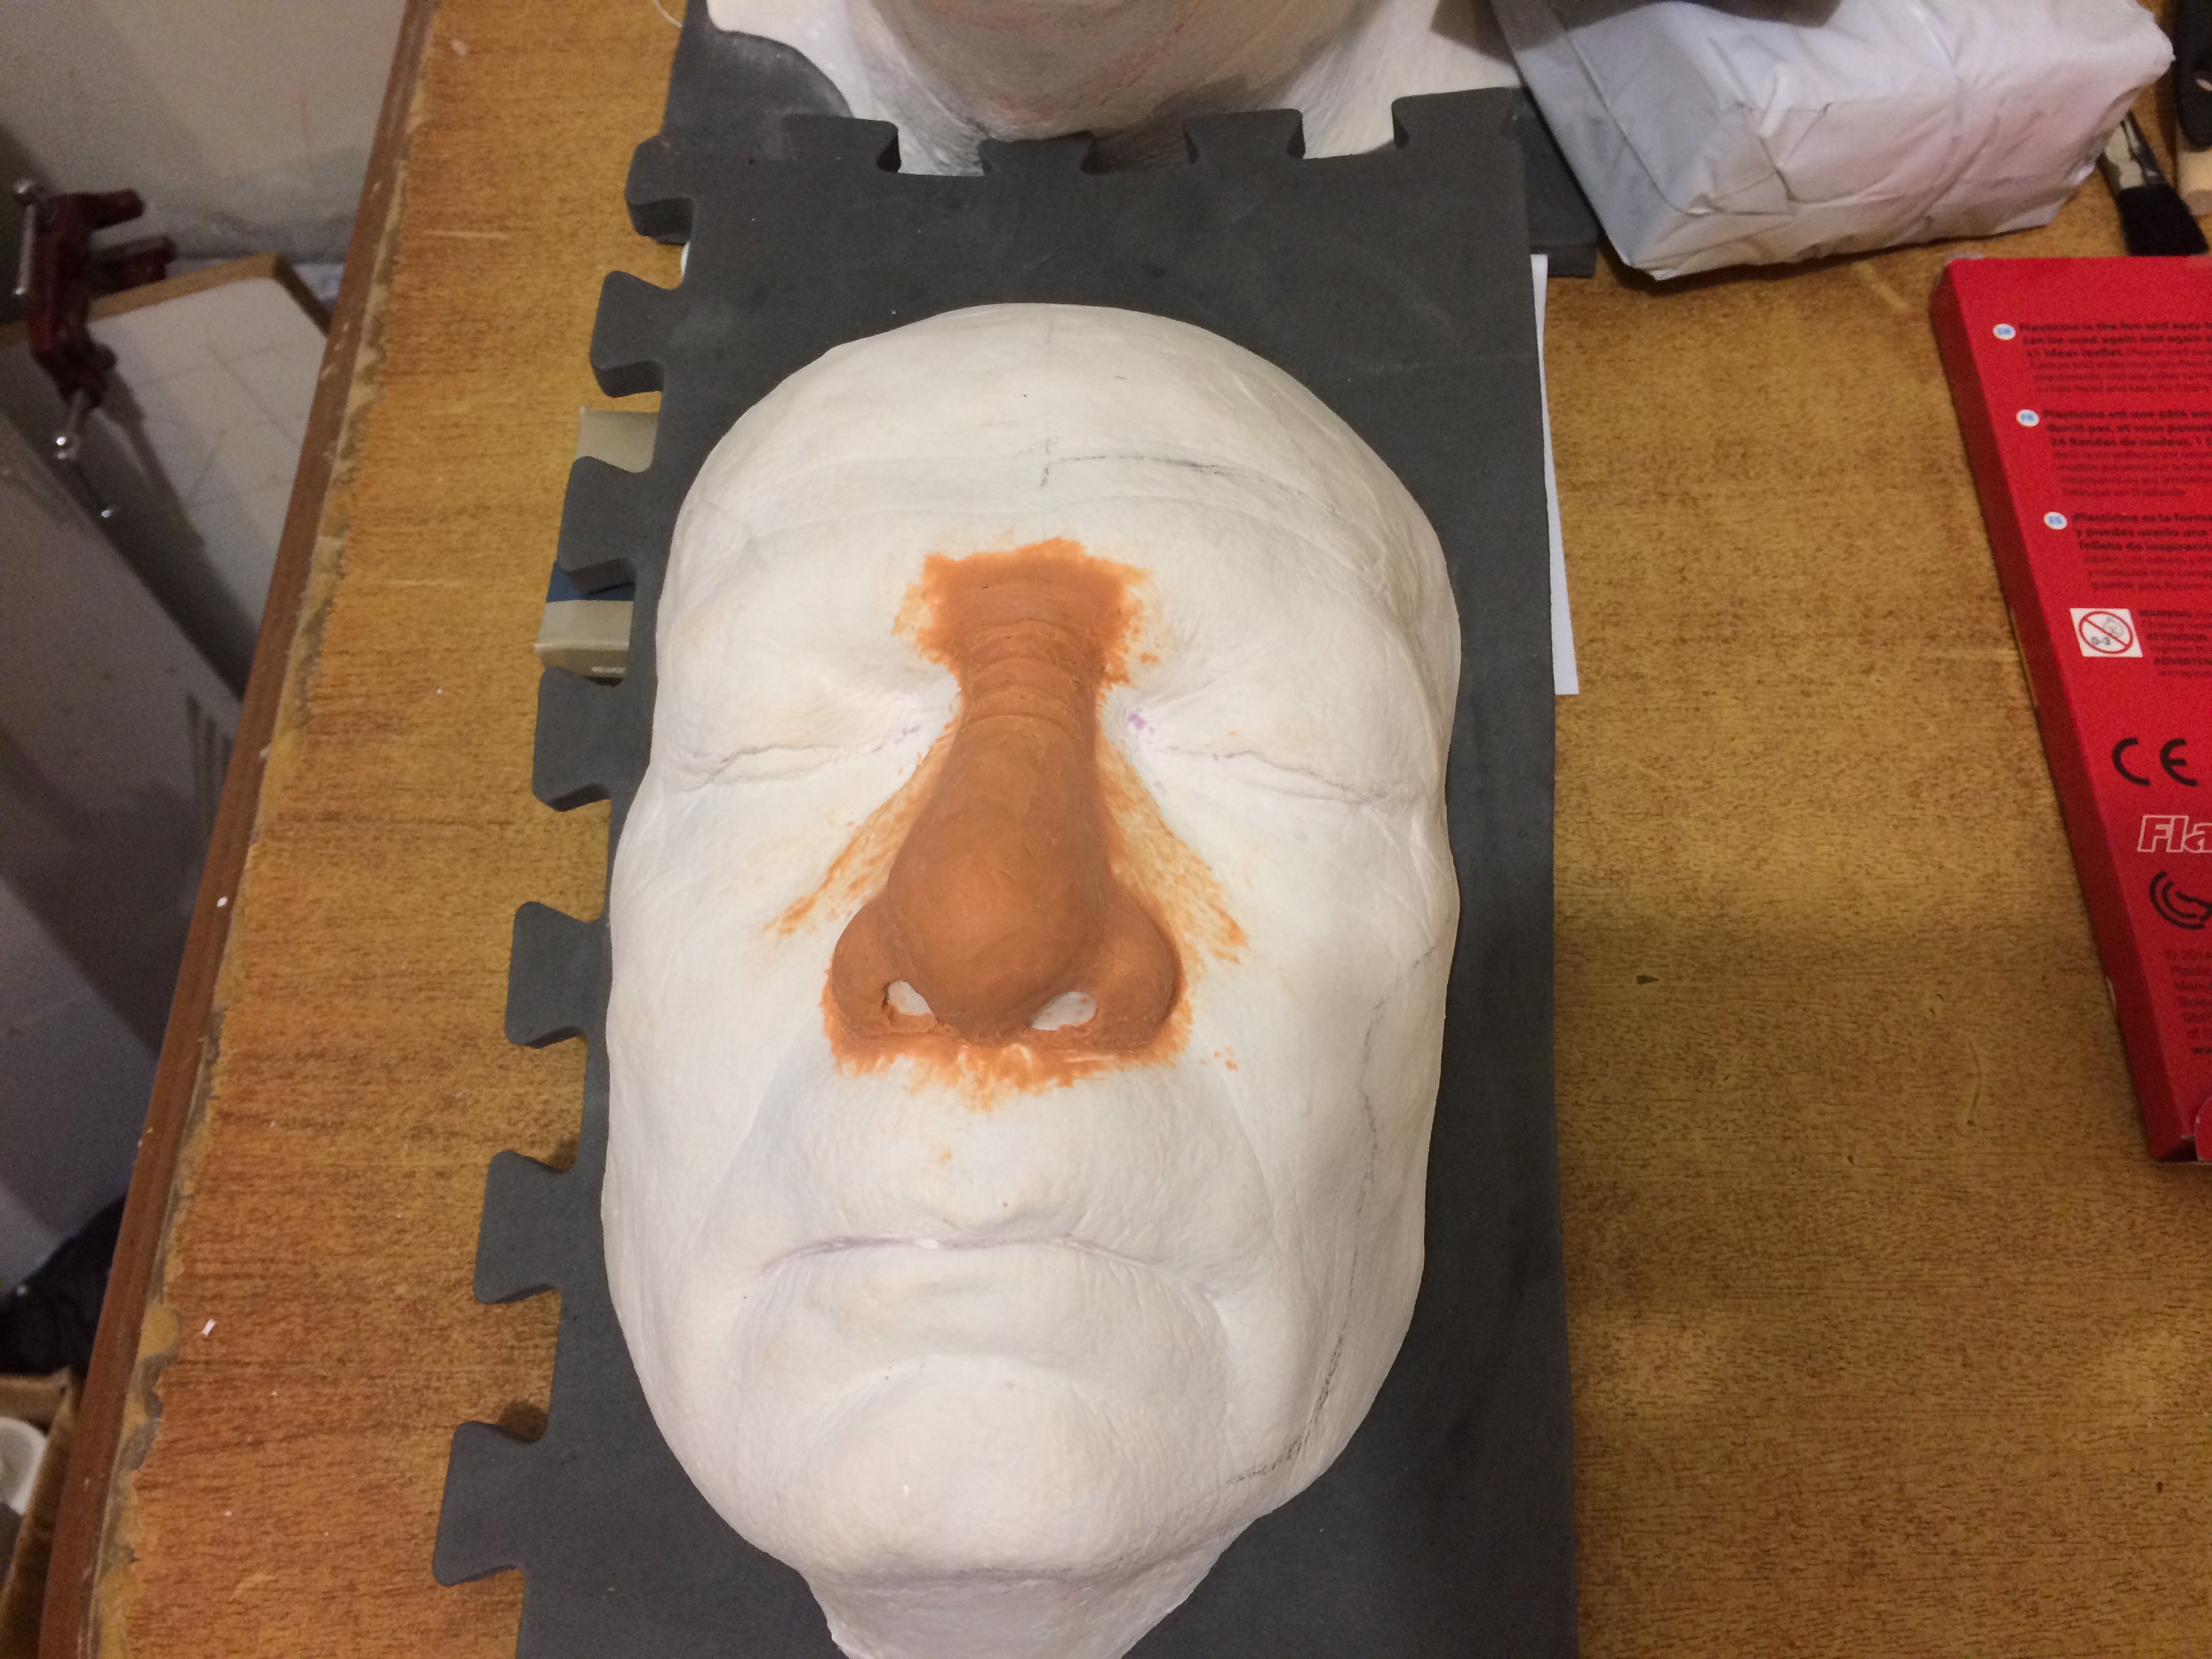
As you can see, there is some cleanup work to do on the pieces to remove the plasticine.

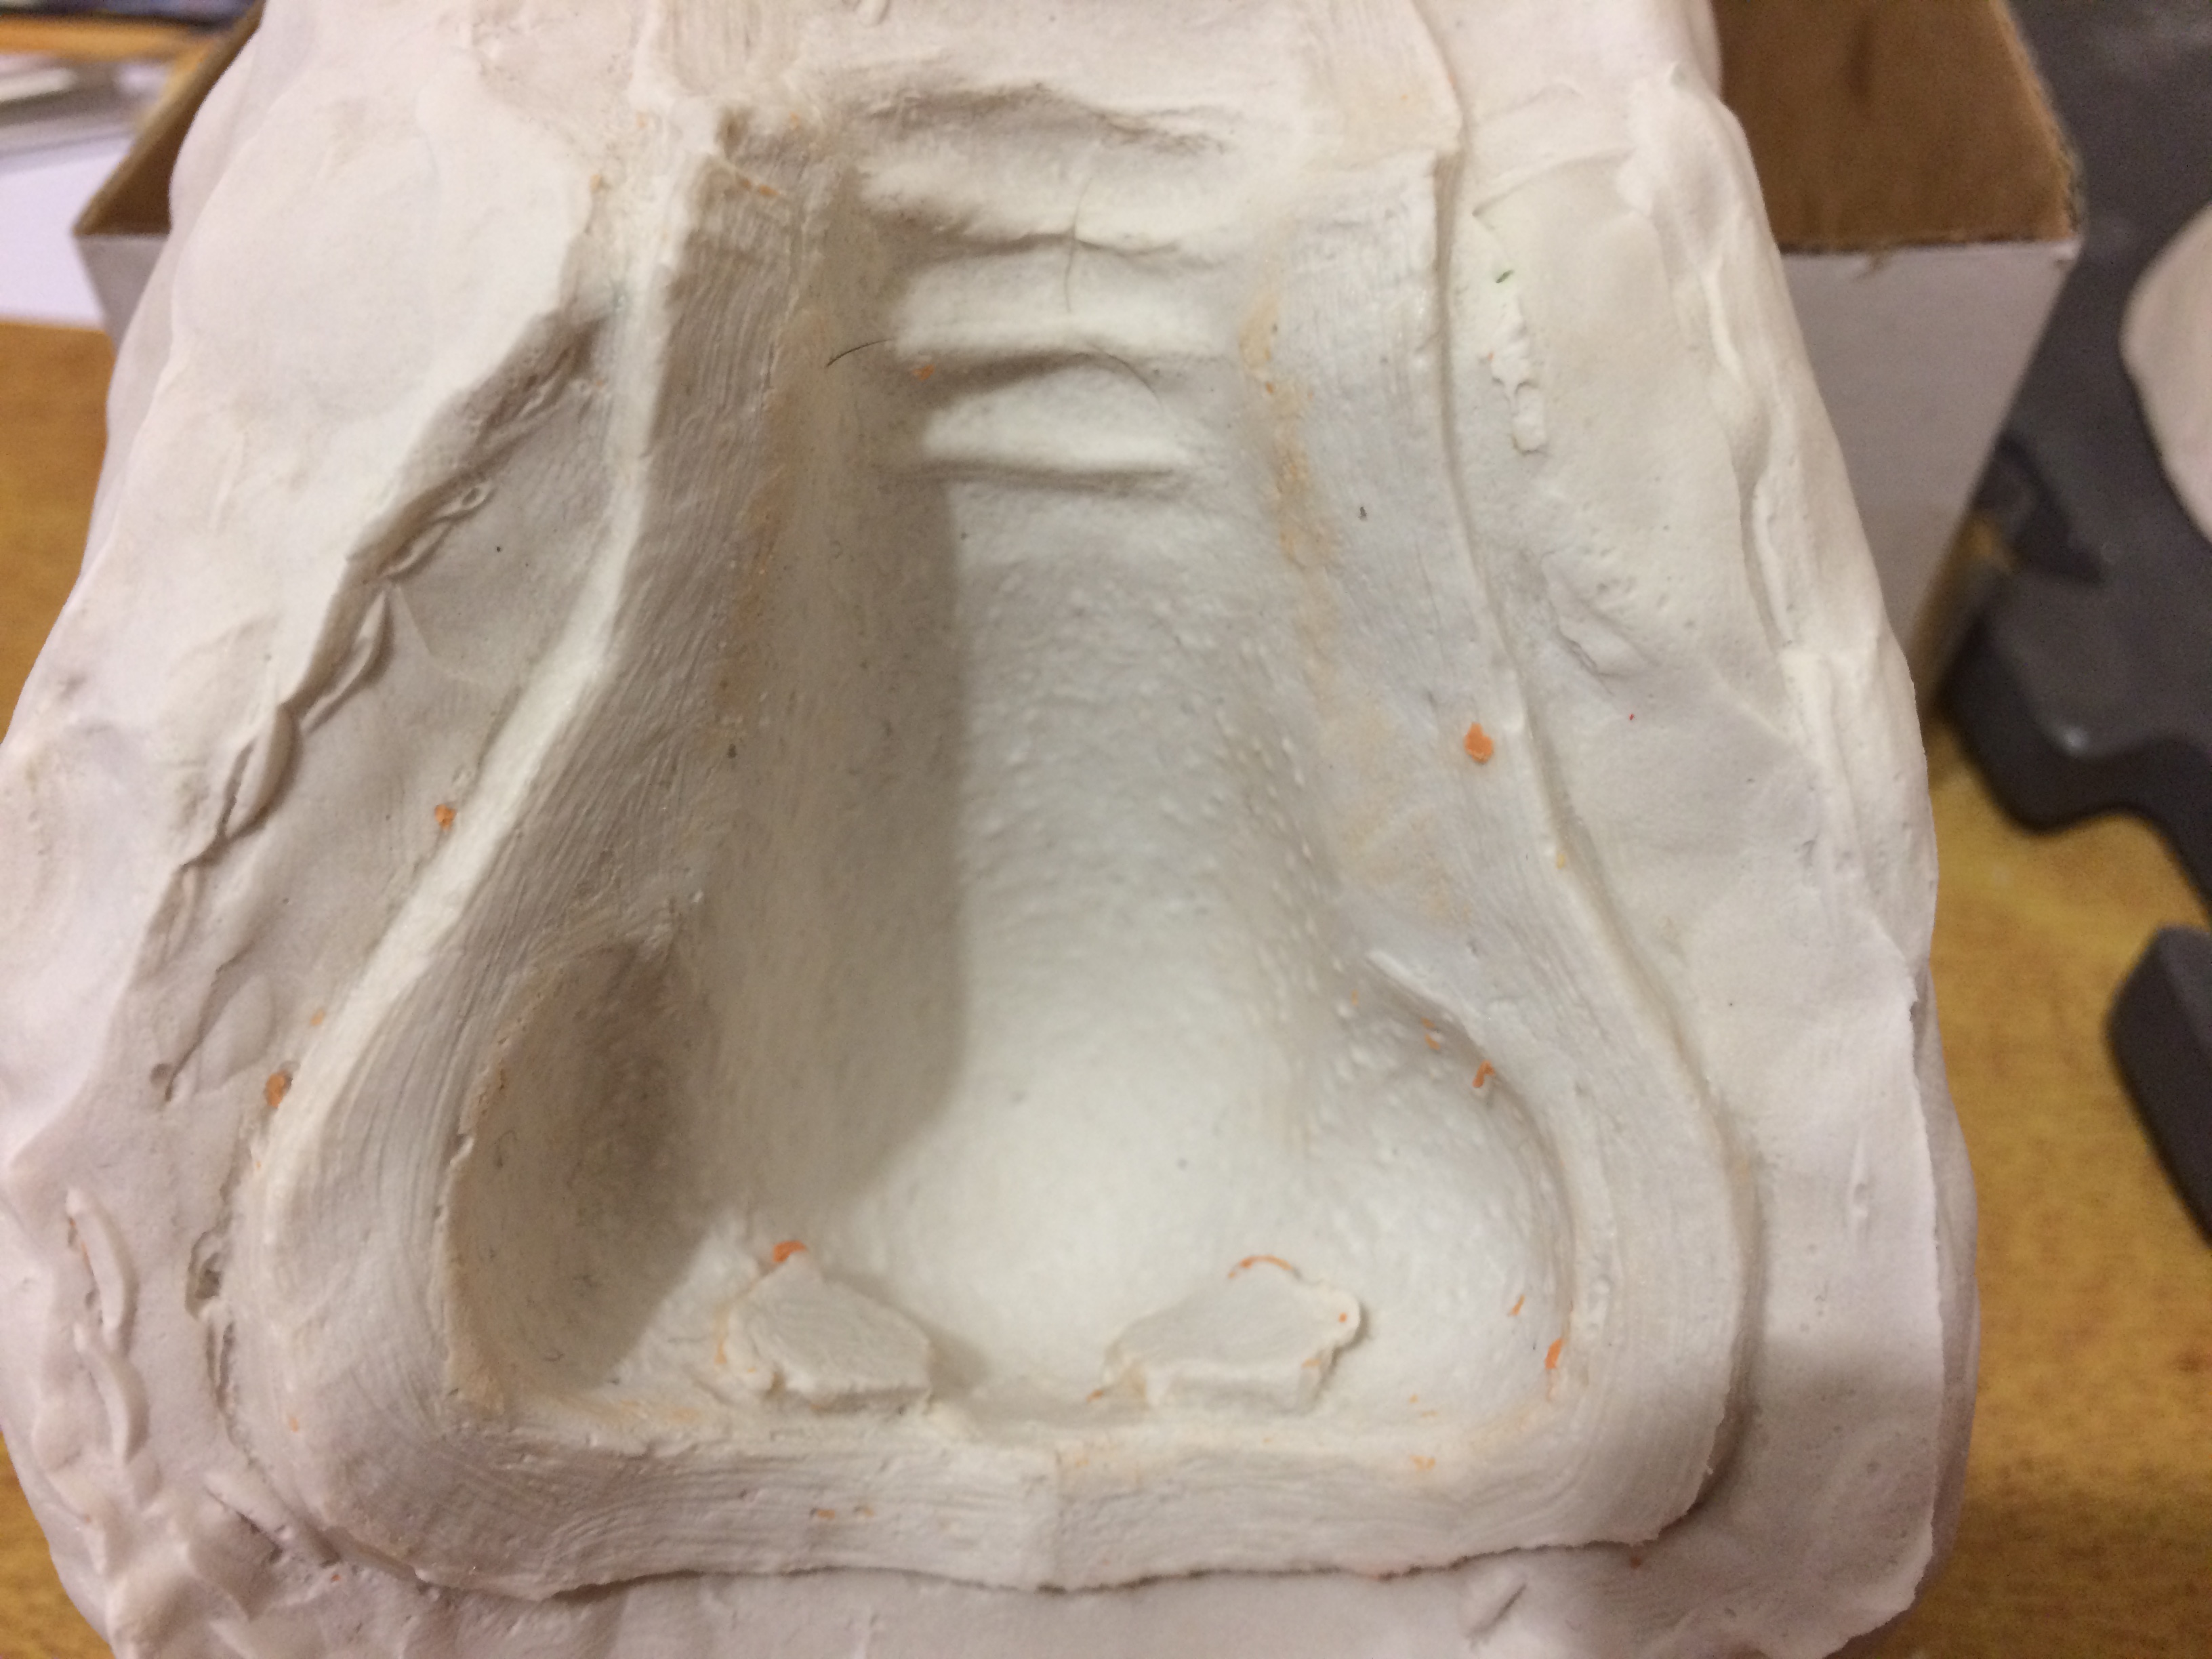
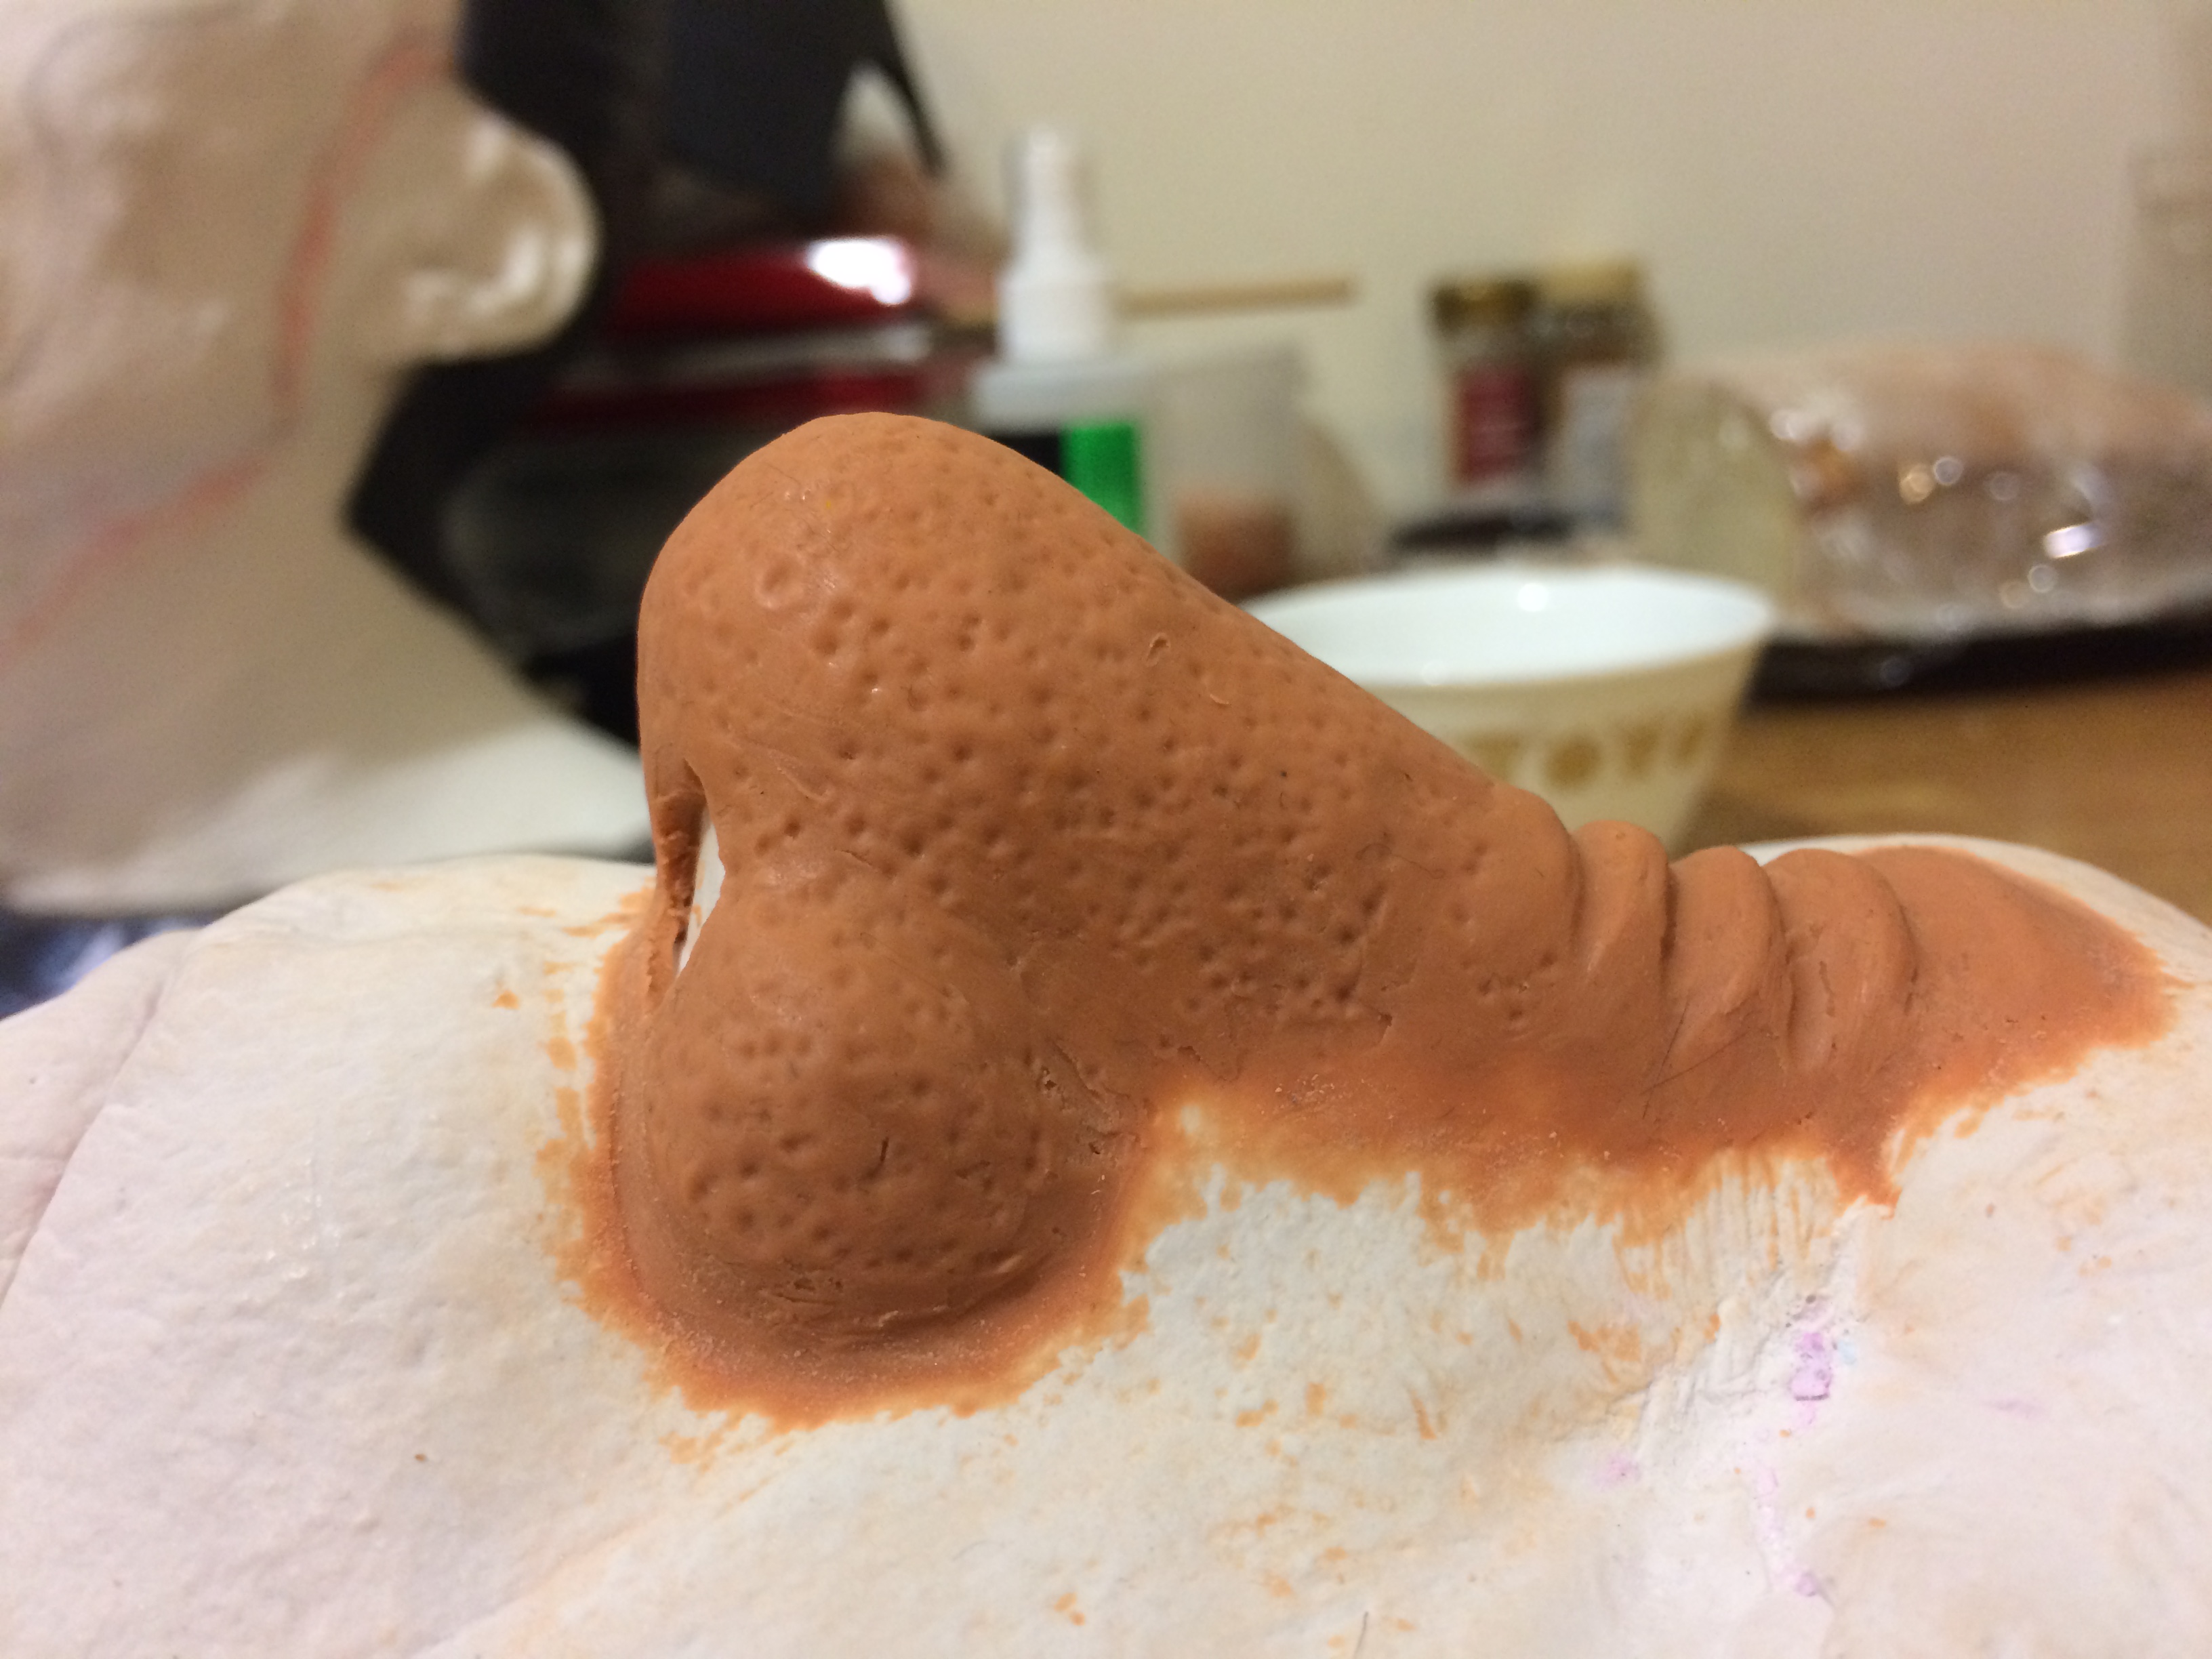
Closeup of the Negative mold piece.  The nose pores are very clear (which is excellent) but as mentioned, you can see the light brush strokes.  This shouldn’t be a big problem as the platsil gel-00 is translucent white and once pigmented and adhered to the skin they should be almost invisible.

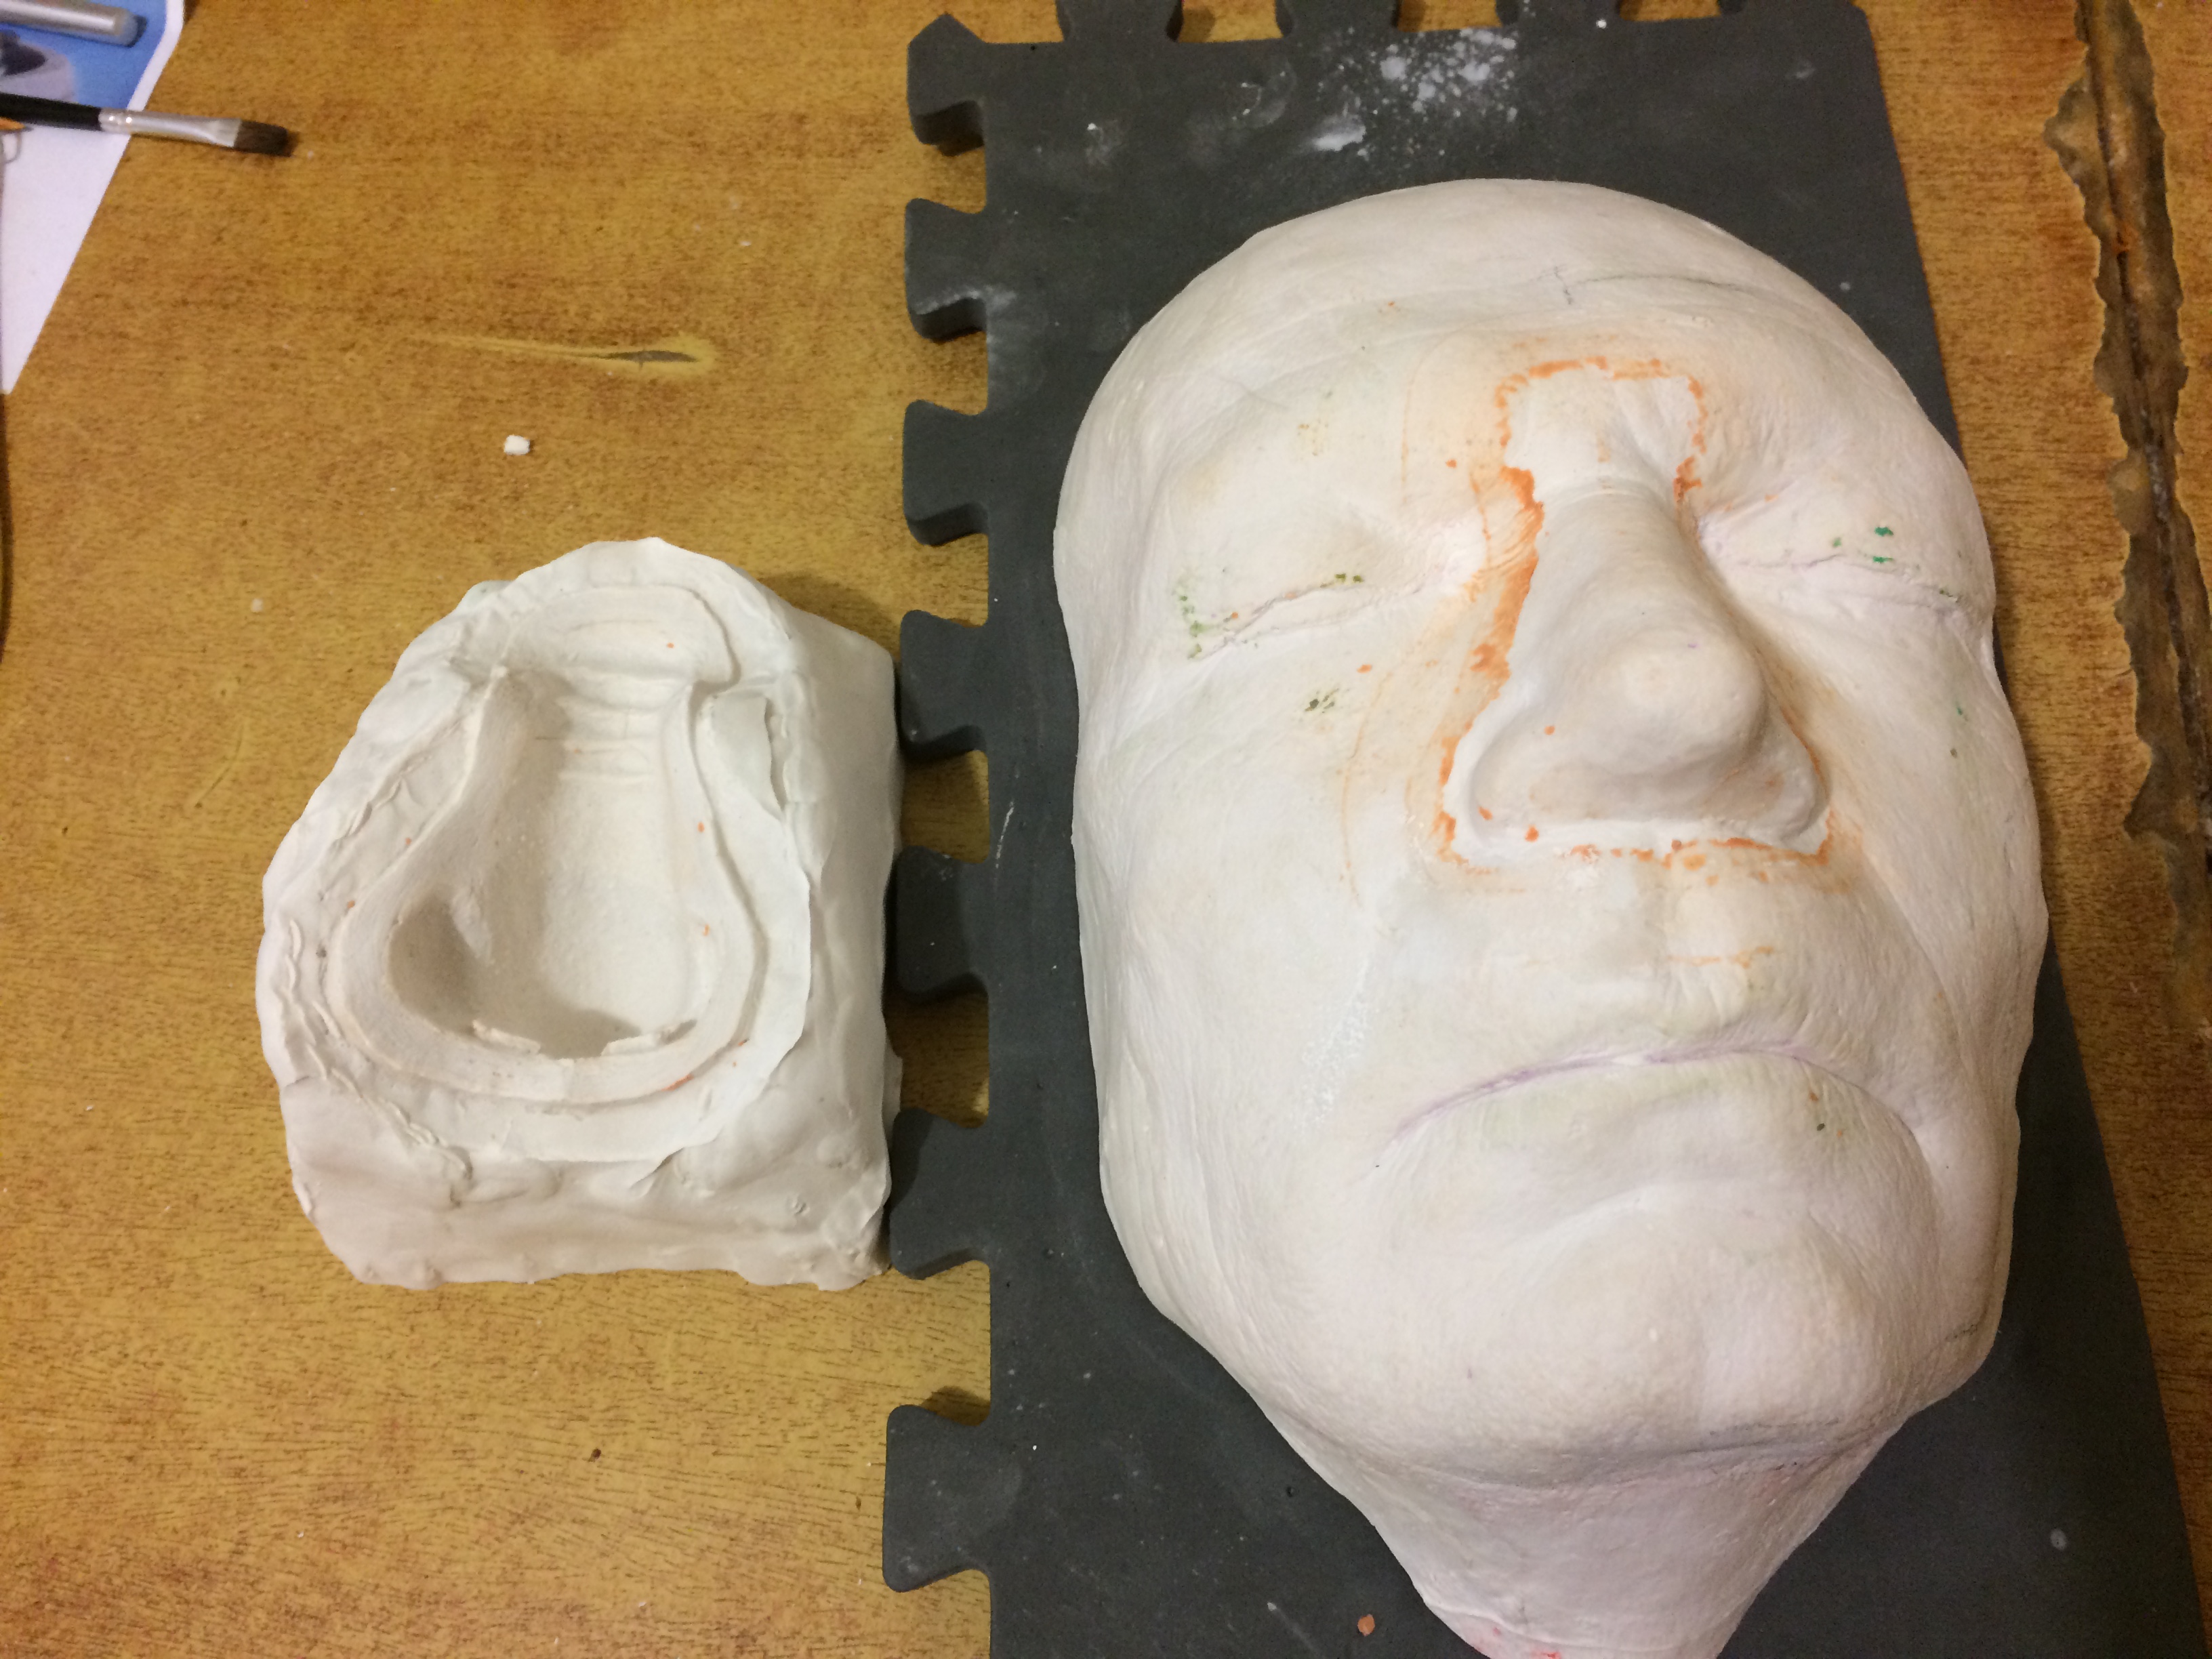
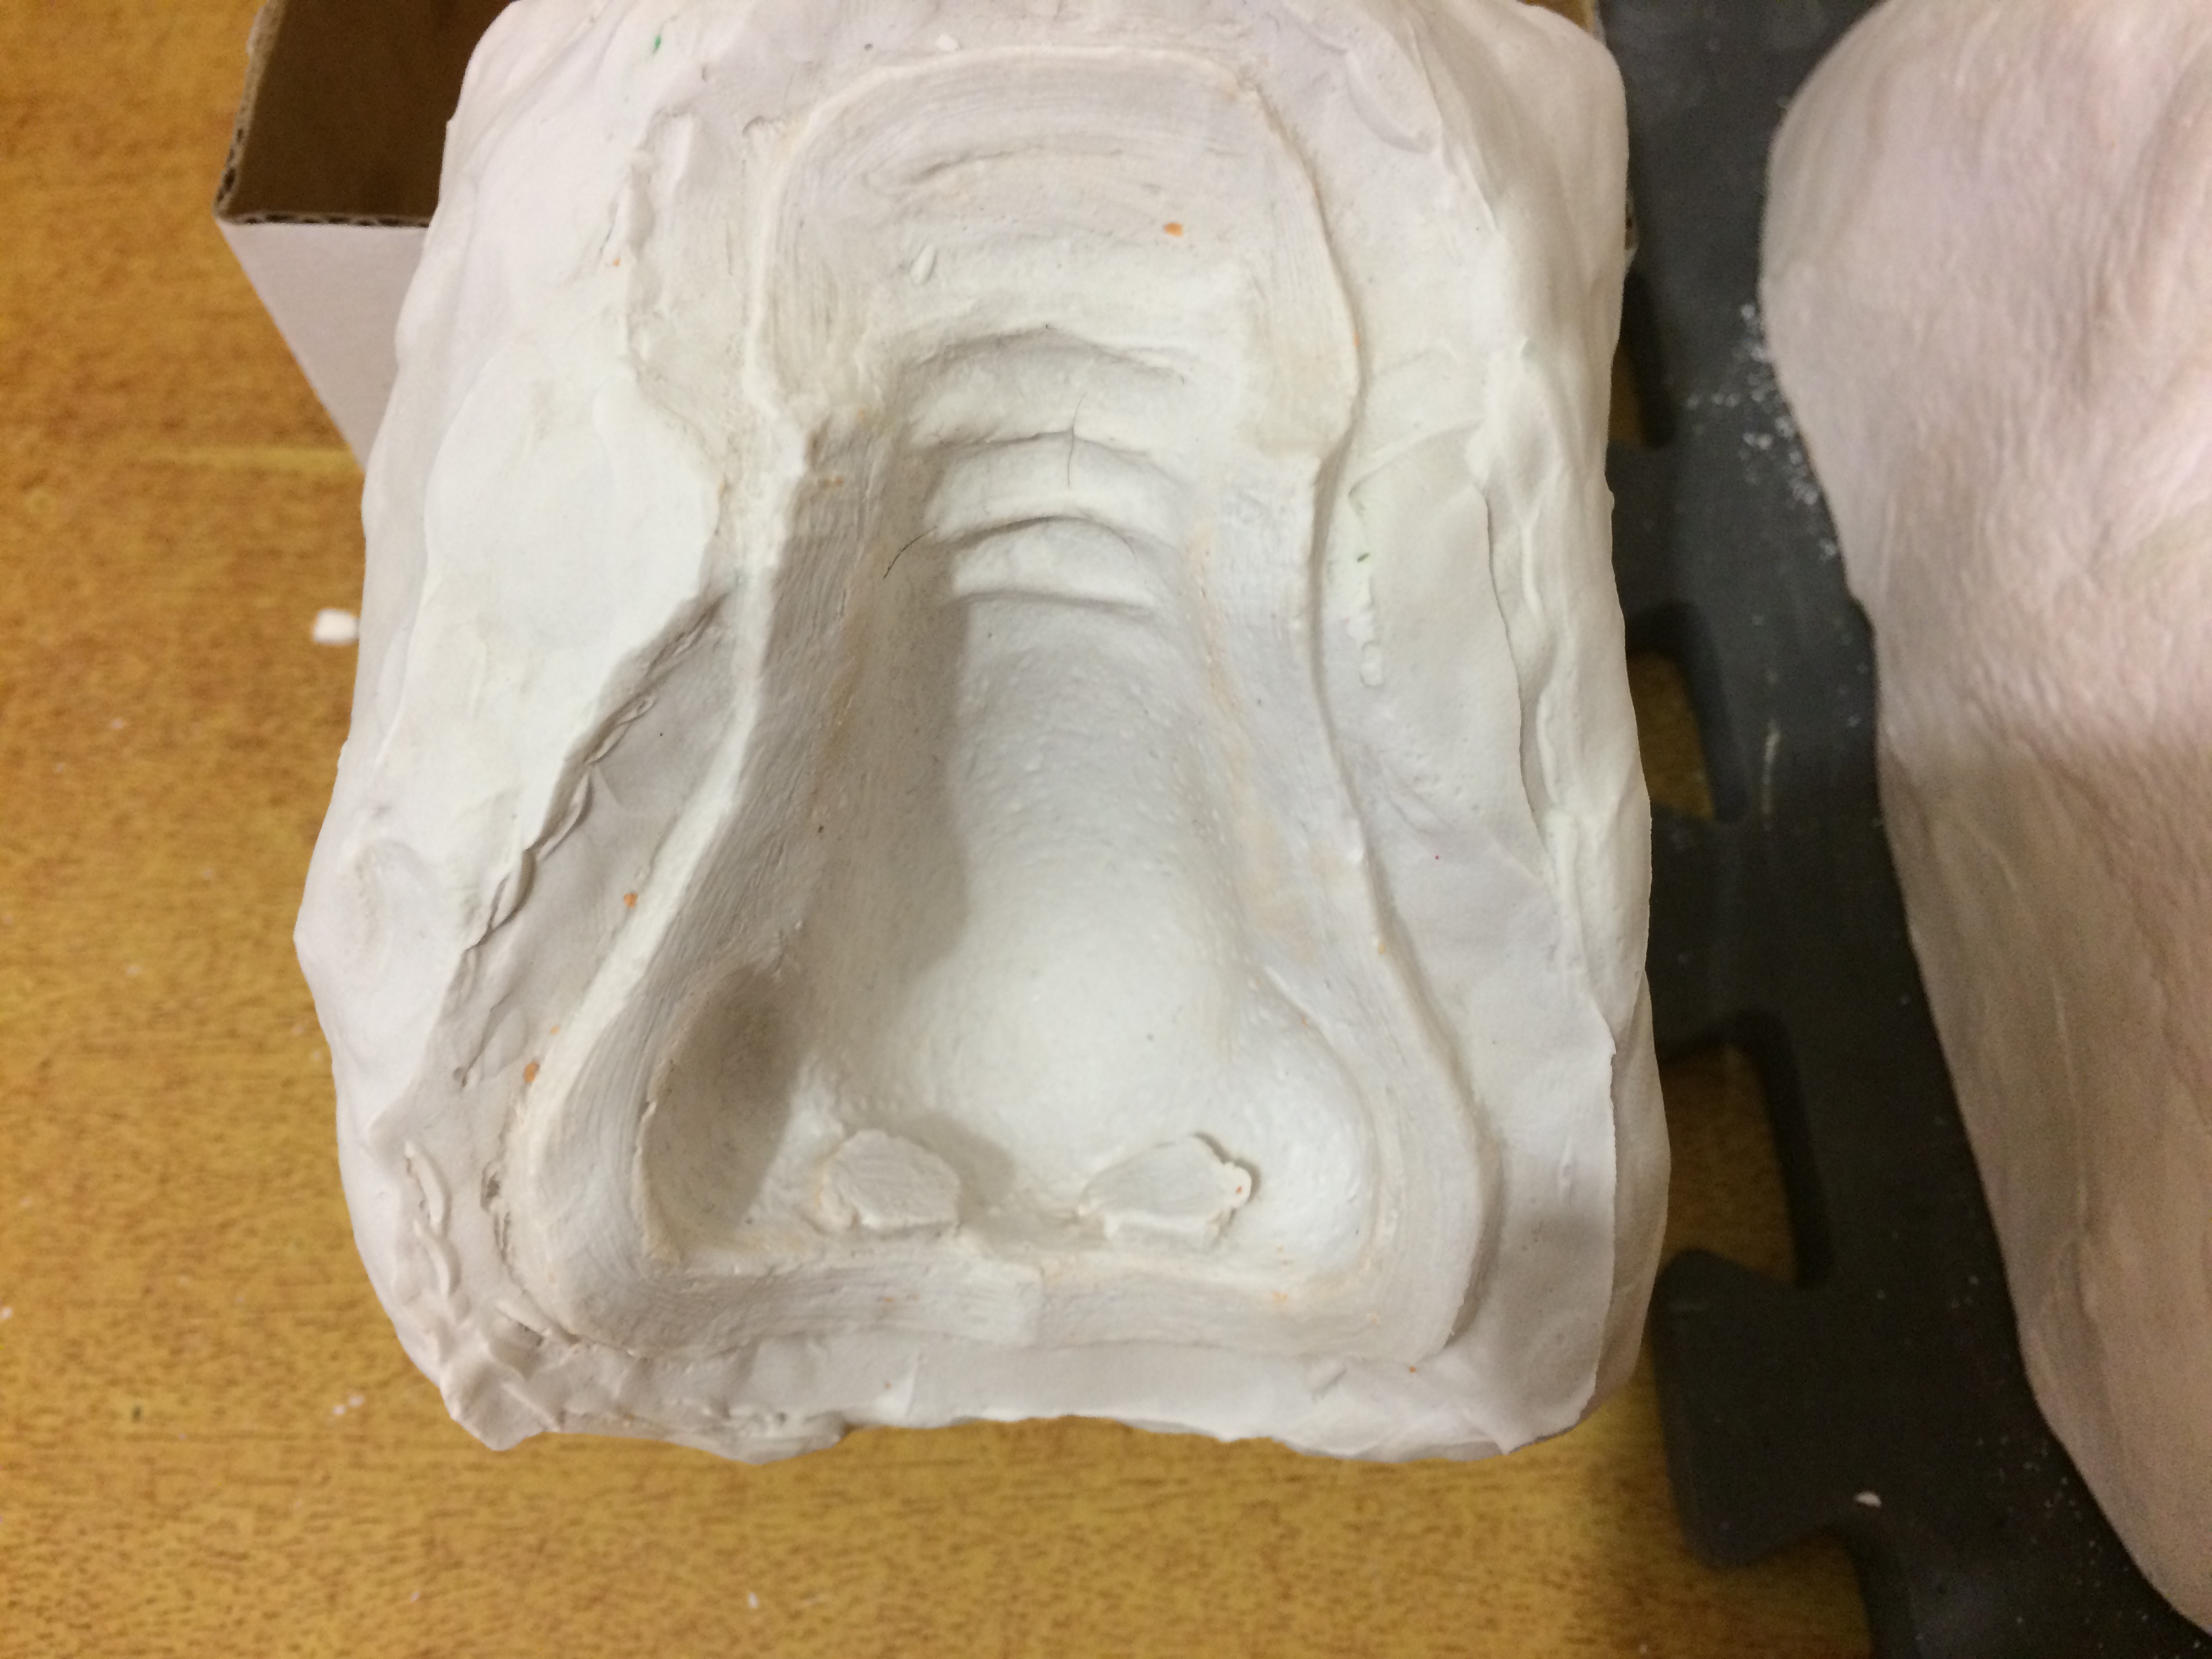
So on with the cleaning.  Iso Alcohol was used to dissolve the Plasticine although a small amount of the colorant in the Plasticine did stain the hydrocal – but its just color.

Now I will leave it a couple of days in a warm dry environment to ensure the hydrocal is fully cured before we get onto the REALLY fun part – Casting my first Silicon prosthetic … YAY!

Appliance Prosthetic – Stage 2

From the raw sculpt I showed in my last post, I got to and smoothed and refined the detail in preparation for ‘texturing’.

To help get a very even surface to create my skin texture on, the entire sculpt was brushed down with isopropyl alcohol which slightly softens the plasticine and lets it blend smooth.  Once this was complete the texturing began.

Part 1: Large Pores.  Created with a blunt toothpick through plastic (to soften the edges)

Part 2: Small ‘feather’ pores.  Created with a stiff paintbrush also through plastic (lighter plastic than previous)

Part 3: Micro creased.  The plasticine in this case was stippled (with a stippling sponge) through 2 layers of plastic wrap.  This helped soften the previous pores and added the micro creases that all skin has.


The above 3 Parts were applied randomly, and in several ‘layers’ over previous parts to build up this nose texture.  Once I was happy with the result (and I am very happy with the results here) I started preparing for the negative cast.

So – What is this ‘outline’? you may wonder.  This is a drainage recess that will be part of the 2 part mold negative to allow any excess silicon a place to go.  After this the entire nose section was ‘boxed’ in ready to pore the hydrocal to make the negative.  BEFORE this however, all exposed plaster/hydrocal surfaces were brushed with Vaseline to act as a release agent and stop the hydrocal bonding to it. (I want to get them apart afterwards 🙂 )

The outer cardboard is simply to act as a support to ensure the plasticine doesn’t distort – but finally it is ready to pore.

Freshly pored, the hydrocal was set in less than an hour however I will leave it 12 hours before I try separating the 2 pieces (lets hope it worked) …

Appliance Prosthetic – Test 01

Well I have finally started making my first facial prosthetic to be cast with the Platsil Gel-00 Silicon.  This is just the initial Plasticine buildup and roughing out.

For now I will let this ‘rest’ so it can harden up a little more (it gets VERY soft when worked) before I continue smoothing and adding finer details.  Once the sculpt is finished, fake skin texturing will be added and then a plaster/hydrocal negative mold will be made just of the nose appliance.  Then the fun with silicon begins.


Even though this is a ‘test’ piece I plan to use this appliance at a local *Con event taking place in September.